Orange “delicious” cake!!
Now that the oranges are in season and the best ones are out there, take advantage of them and make this cake.
In my garden in Italy I have nice and juicy oranges and when I was there after several attempts, I came up with this recipe, it is one of the best cakes I have ever made with the oranges!
Then, it is very easy to make even very fast, it does not require particular effort, just get some excellent oranges, with thick peel.
You will come up with a very soft orange cake that will make you very proud of it with your family and friends as a dessert at the end of a meal, for a special occasion, or as a genuine snack, accompanied by a good tea … The simple and not too invasive flavor goes perfectly even with a cappuccino or a hot chocolate, therefore perfect for breakfast with your special espresso coffee.
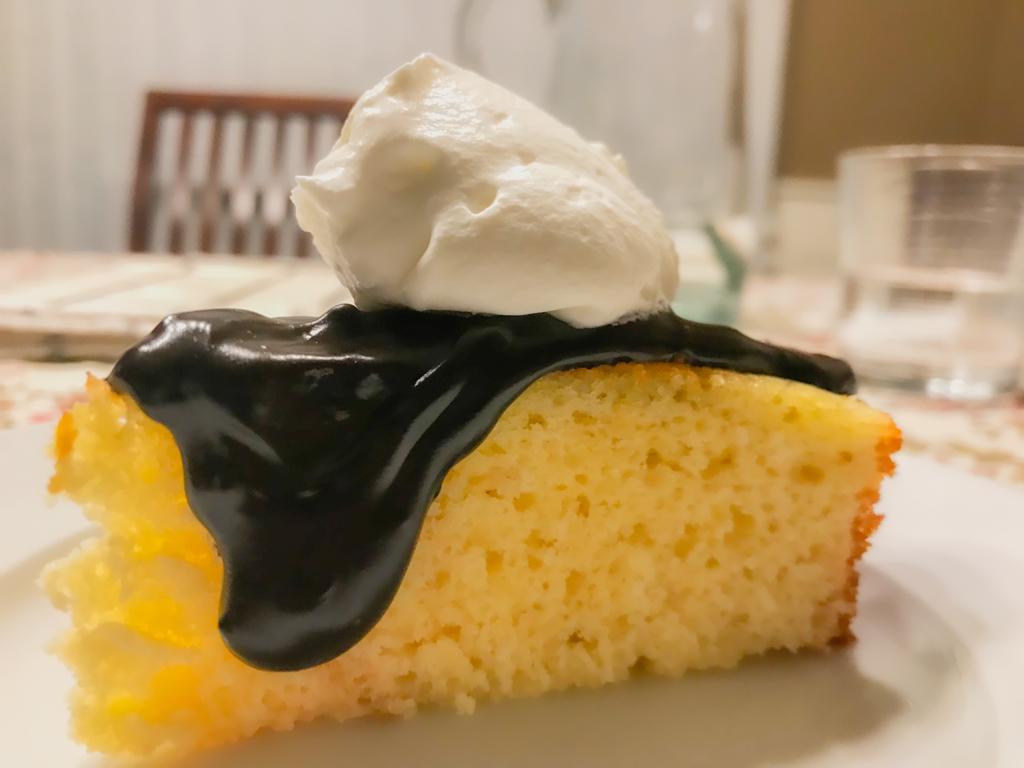
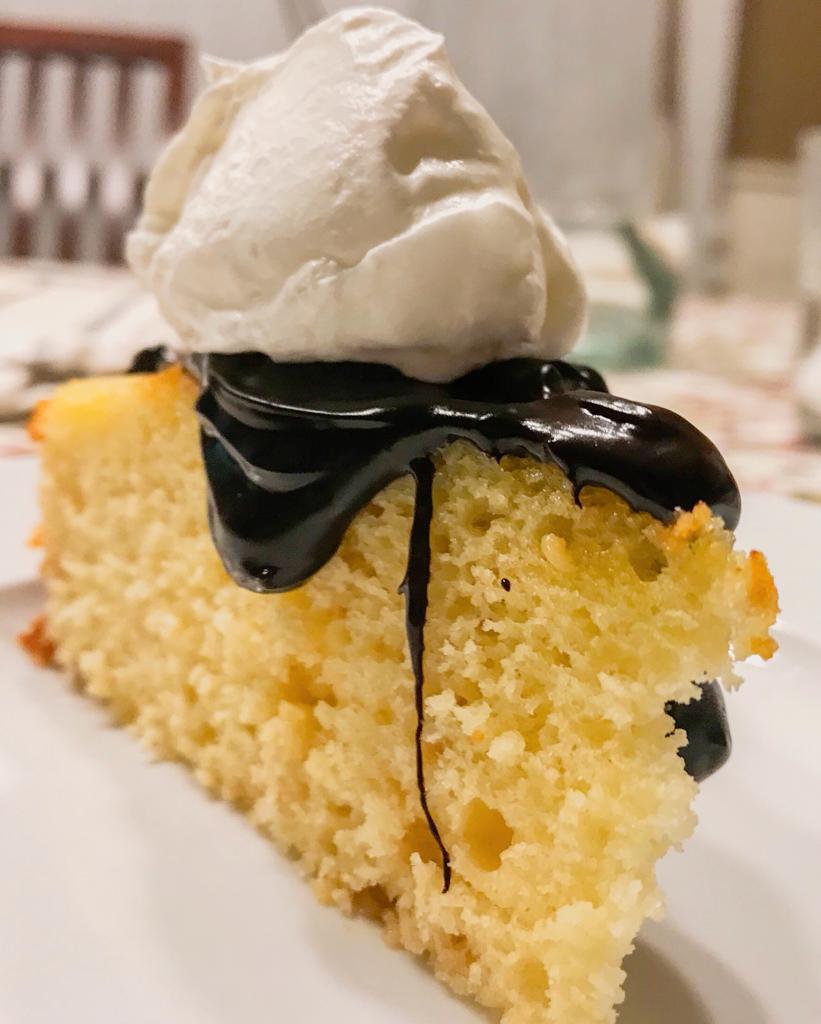
But if you love chocolate as much as I do, you can appreciate my choice to serve this simple cake topped with some silky chocolate sauce and a scoop of a light whipping cream.
I vividly remember moments in my the kitchen in Italy, when my children were waiting in anticipation for me to take the orange cake out of the oven. I always told them to wait for it to cool completely, but their impatience usually won them a slice of warm cake. Now I’m so far from them and I’m missing their impatience, but sometime my husband does the same. I can’t wait for the day when they will come in Seattle and I will hug them so tightly.
This cake is very easy to make, you need to use one bowl, a whisk and elbow oil; or if you have the mixer it’s easier and faster.
It’s really important to properly beat your eggs for a light and fluffy crumb. This is the only step that adds air into the cake. You’ll whisk together the eggs and sugar on high speed until pale and fluffy, about 5 minutes. Then with your spatula you can add buttermilk (or vegetable oil,) orang juice, zest, vanilla. At the end the dry ingredients.
Be careful not to overbake it. I like to use a toothpick to test when it’s done.
Once baked, let it cool for 30-40 minutes. In the meantime, make the orange syrup.
1 ½ cups (300g) granulated sugar
1 cup (240 ml) buttermilk (or vegetable oil)
1 ¼ cups (300 ml) freshly squeezed orange juice
Orange zest from 3 oranges
Lemon zest from 1 lemon
1 teaspoon pure vanilla extract
4 large eggs
2 ½ teaspoons baking powder
1/8 teaspoon salt
for the syrup
for the syrup
freshly squeezed orange juice 2 oranges
6 tablespoon sugar
for the chocolate sauce
4 tablespoons cocoa powder
1 ½ tablespoon corn starch
3 tablespoons sugar
¾ cup of milk
for the whipping cream
2 cups whipping cream
½ cup of sugar
Instruction:
In a mixer bowl fitted with whisk attachment, whisk together eggs and sugar on high speed until pale and fluffy, about 5 minutes.
With a spatula add the buttermilk slowly until combined. Add orange juice, zest, and vanilla extract and keep mixing slowly until combined.
Add flour, baking powder and salt and mix just until combined. Don’t overmix.
Pour the batter into prepared pan.
Bake for 40 minutes or until a toothpick inserted into the center of the cake comes out clean. If the top is browning quickly while baking, cover loosely with aluminum foil.
Start the syrup and allow the cake to cool for 40 minutes.
-for the syrup-
In a saucepan mix the filtered orange juice together with the sugar.
Place on the stove and cook for a couple of minutes. Wait for it to boil (the mixture must fill with bubbles)
Turn quickly with a spoon and check the consistency of the syrup by periodically removing it from the heat so that it does not burn: the syrup to be obtained is a shiny and soft glaze, not too caramelized but not too liquid.
Turn the cake upside down, to have a flat surface and sprinkle the surface with the freshly prepared syrup. Spread well on the edges so that the sides are also sprayed.
-for the chocolate sauce-
In a saucepan mix the cocoa with the corn starch and the sugar. Wait for it to boil and stir until it become creamy.
-for the whipping cream-
Whip the cream with the sugar until fluffy and firm.
Enjoy this cake with people you love, add on each slice a scoop of a warm chocolate sauce and a scoop of whipping cream.
Buon Assaggio! Enjoy!
”Delizioso” Dolce all’Arancia!!
Ora che le arance sono di stagione e sono le migliori, approfittatene e preparate questa torta.
Sono sicuro che non rimarrai deluso! Questa è la torta all’arancia perfetta secondo i miei gusti: il giusto compromesso tra morbidezza e sapore di arancia, consistenza umida e topping caramellato…

1 ½ cups (300g) zucchero semolato
1 cup (240 ml) latticello (o olio vegetale)
1 ¼ cups (300 ml) succo di arancia fresco
Buccia grattuggiata di 3 arance
Buccia grattuggiata di 1 limone1 cucchiaino estratto di vaniglia
4 uova
2 ½ cucchiaino di lievito per dolci
1/8 cucchiaino sale
per lo sciroppo
succo fresco di due arance
6 cucchiai di zucchero
per la salsa al cioccolato
4 cucchiai di polvere di cacao
1 ½ cucchiaio di amido
3 cucchiai di zucchero
¾ cup latte
per la panna
2 cups panna di latte
½ cup zucchero
Istruzioni
-per la torta-
Preriscaldare il forno a 350°F/180°C. Ungete una teglia da 26 cm e mettete da parte.
Nella ciotola del mixer dotata di frusta, sbattere le uova e lo zucchero ad alta velocità fino a ottenere un composto chiaro e spumoso, circa 5 minuti.
Con una spatola aggiungere lentamente il latticello fino a quando non si sarà amalgamato. Aggiungere il succo d’arancia, la scorza e l’estratto di vaniglia e continuare a mescolare lentamente finché non si saranno amalgamati.
Aggiungere la farina, il lievito e il sale e mescolare fino a quando non si saranno amalgamati. Non mescolare troppo.
Versare l’impasto nella teglia preparata.
Infornare per 40 minuti o finché uno stuzzicadenti inserito al centro della torta non ne esce pulito. Se la superficie si scurisce rapidamente durante la cottura, coprila con un foglio di alluminio.
Iniziare lo sciroppo e lasciare raffreddare la torta per 40 minuti.
-per lo sciroppo-
In un pentolino mescolare il succo d’arancia filtrato insieme allo zucchero.
Mettere sul fuoco e cuocere per un paio di minuti. Aspettate che arrivi a bollore (il composto deve riempirsi di bolle)
Girare velocemente con un cucchiaio e controllare la consistenza dello sciroppo togliendolo dal fuoco in modo che non bruci: lo sciroppo che si vuole ottenere è una glassa lucida e morbida, non troppo caramellata ma non troppo liquida.
Capovolgere la torta, per avere una superficie piana e cospargere la superficie con lo sciroppo appena preparato. Stendere bene sui bordi in modo da inumidire anche i lati.
-per la salsa al cioccolato-
In un pentolino mescolate il cacao con l’amido di mais e lo zucchero. Aspettate che arrivi a bollore e mescolate finché non diventa cremoso.
-per la panna -
Montare la panna con lo zucchero fino a renderla soffice e soda.
Gustate questa torta con le persone che amate, aggiungete su ogni fetta la salsa calda al cioccolato e una pallina di panna montata.
Buon Assaggio!
Se ti interessano piu’ ricette per deliziosi dolci clicca qui