We are proud to host many websites for language tutors, yoga schools, and personal fitness coaches around the world.
It’s exciting to see how educators and consultants across different industries are getting creative with their online offerings: language teachers conduct 1:1 sessions to help students hone pronunciation, yoga studios livestream group sessions, and instructors lead writing boot camps via Zoom breakout rooms. Even my own strength coach is monitoring my workouts — I launch the camera on my phone, place it against the wall, and do deadlifts while he supervises.
Last year we launched Recurring Payments to support creators, consultants, small businesses, and other professionals in establishing dependable income streams. We were very pleased to discover that online educators using this feature are thriving as well!
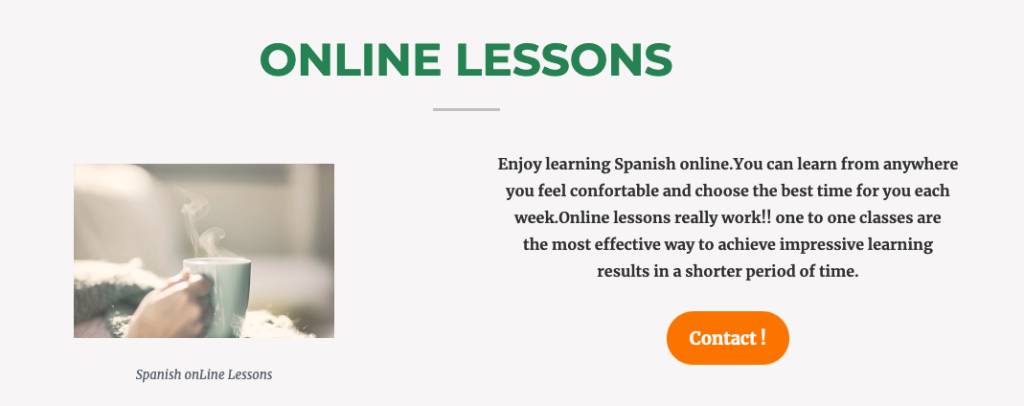
Marta, for example, runs Spanish Teacher Barcelona, a Spanish language school located in — you guessed it! — Barcelona. She offers 1:1 sessions and classes in a coworking space in the city’s Gracia neighborhood. For customers that cannot meet in person, she hosts private lessons online, available with a subscription. She offers three subscription plans to meet the variety of needs of her students.
Ready to set up your own subscription-based service or move your existing classes online? Here’s a quick guide to get you set up with the right tools, so you can focus instead on providing the best educational environment possible.
Set up your online class today
Below, we’ll cover the steps you can take to get your classes or private lessons up and running with the Recurring Payments feature. We’ll also recommend tools to make scheduling 1:1 sessions and operating your classes easier, like the Calendly block and various video conferencing tools.
1. Create a “Subscribe” page to promote your class or service
You need to convince your customers that your subscription is worth paying for. A typical way to do this is with a “Subscribe” page where you explain the benefits of your services.
Take a look at the “Join” page on Longreads.com, an online publication that publishes and curates nonfiction storytelling on the web and funds stories with memberships:

A few tips to make your offer irresistible:
- Focus on the benefits for the customer.
- Provide a few subscription options, such as classes at different frequencies and at different price points.
- Add testimonials if you can — people love to read reviews.
Create this page by going to My Sites → Pages → Add New.
2. Add a subscription with the Recurring Payments feature
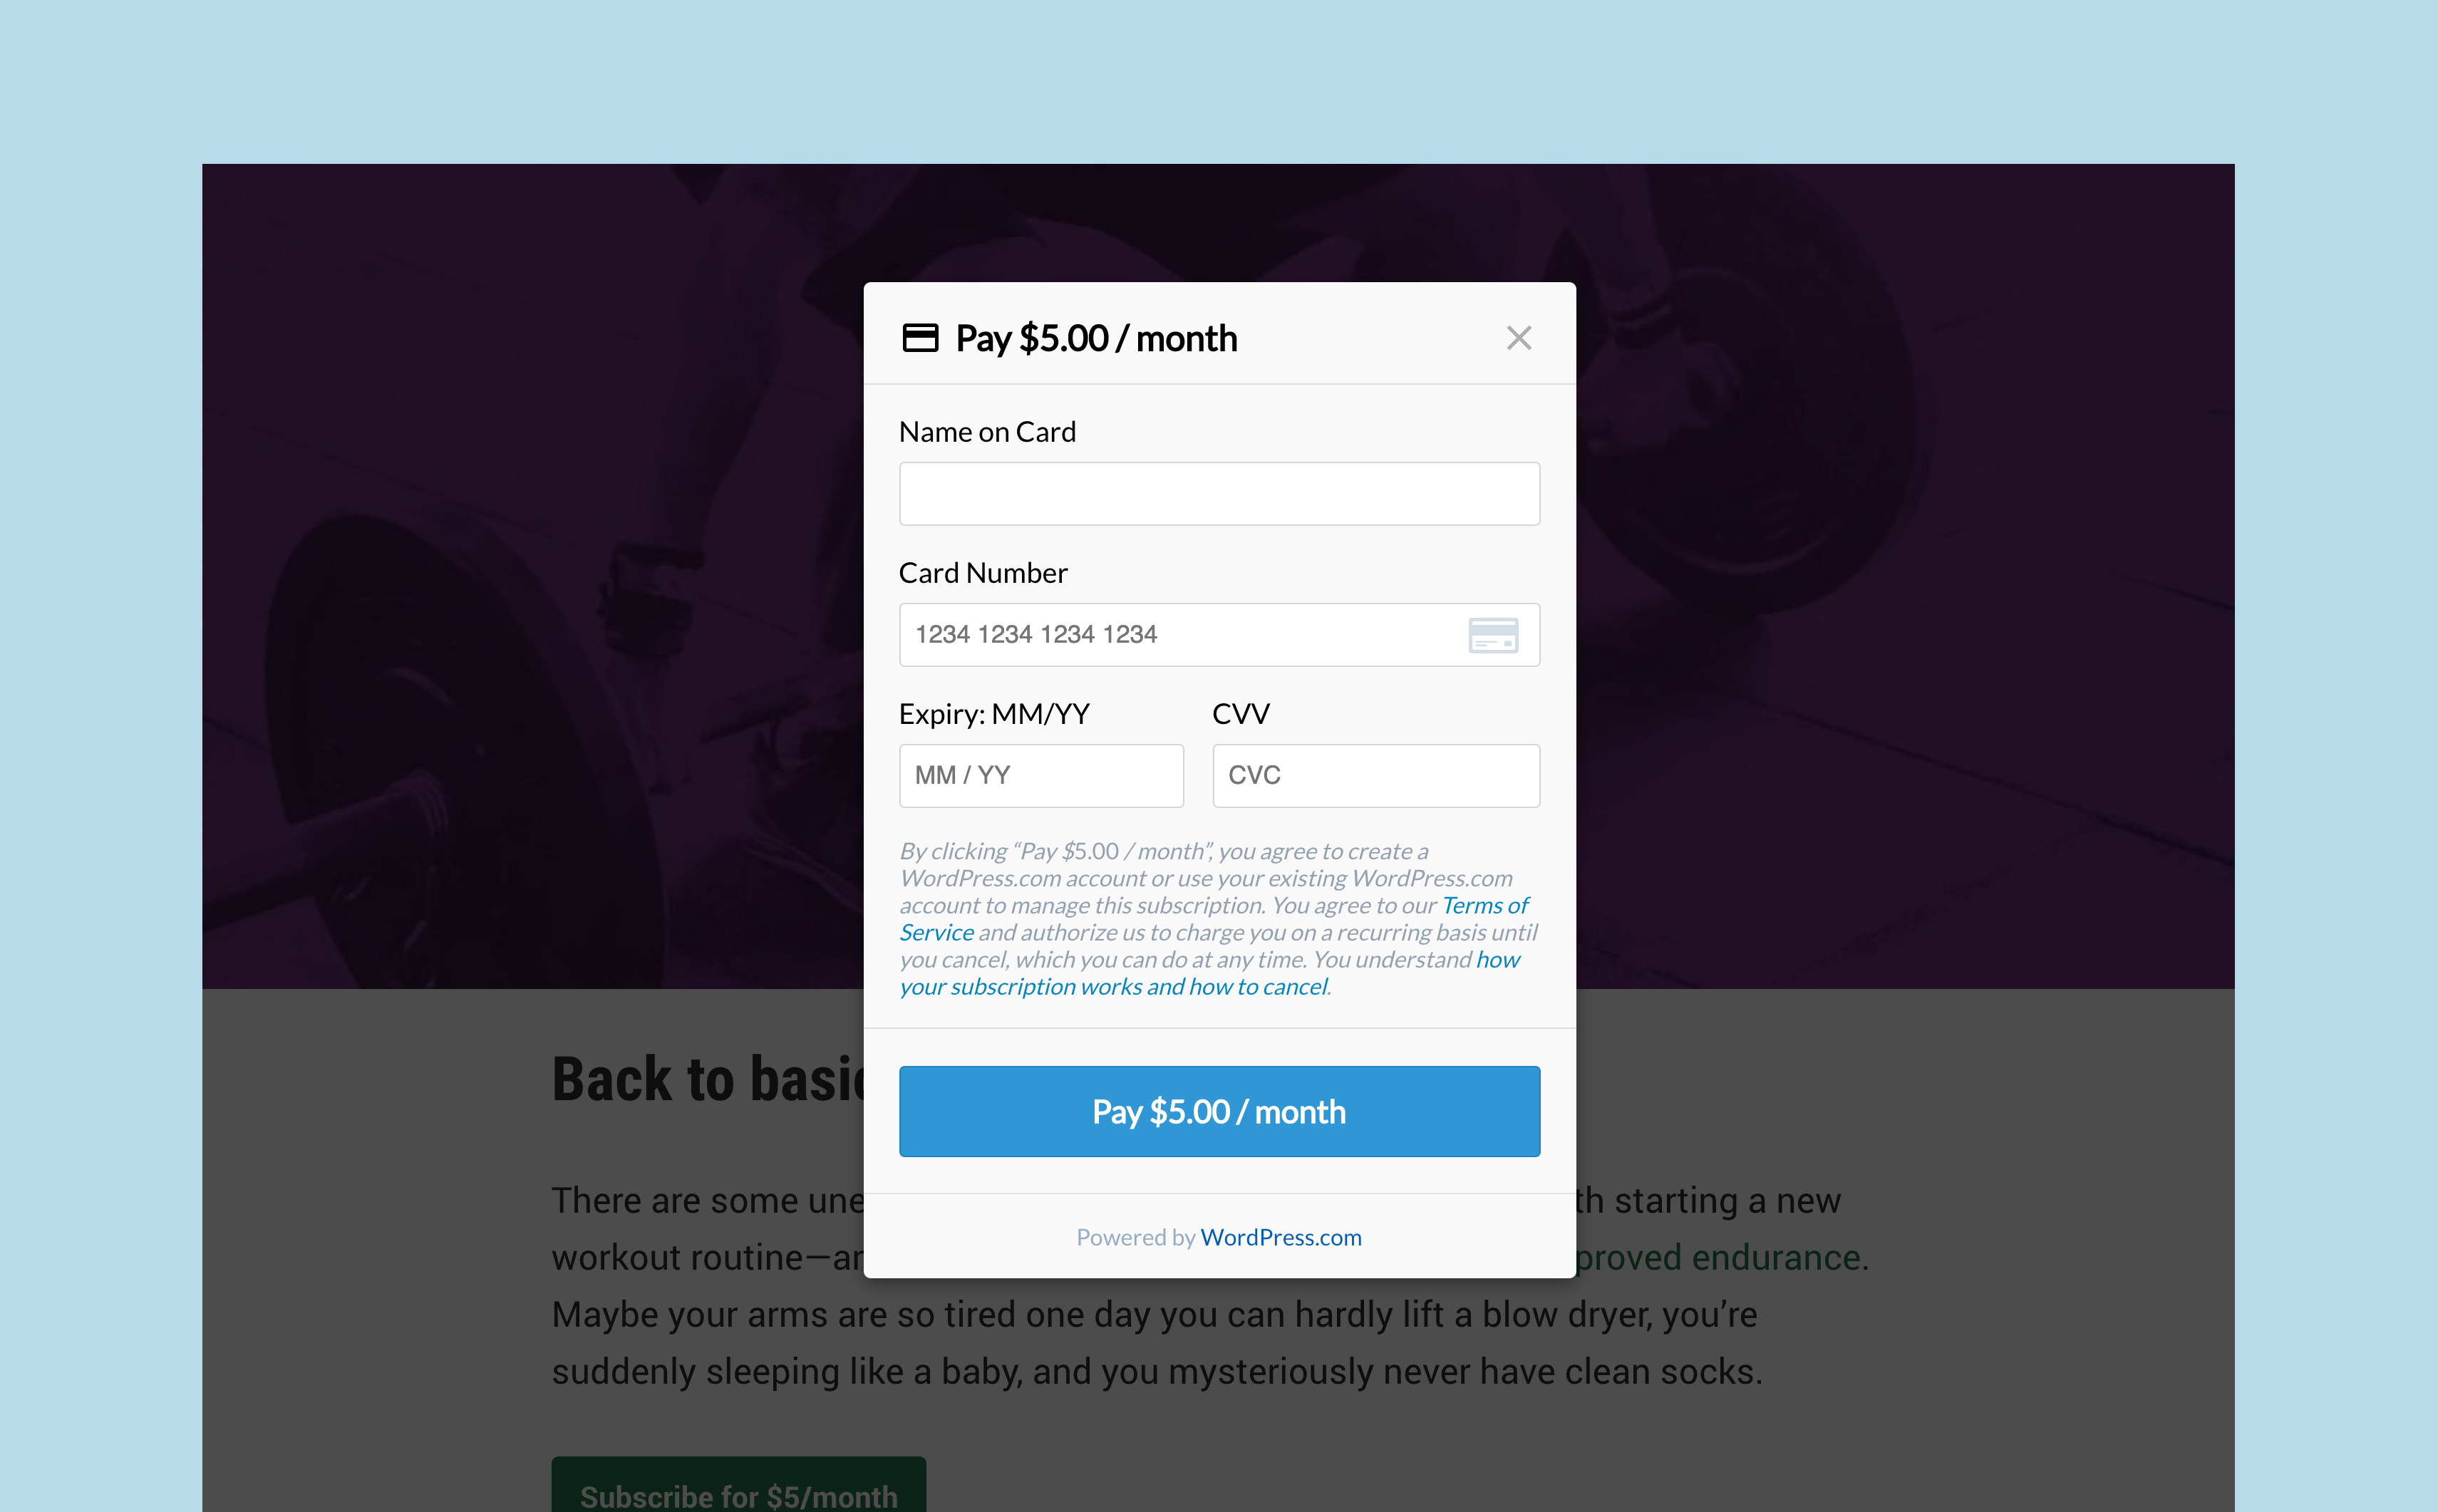
Recurring Payments allows you to create renewable payments. Your subscribers will enter their credit card details, and will then be charged automatically every month or every year.
Recurring Payments is currently available on any of our paid plans. To get started, you’ll need to create a Stripe account, which is a global money transfer service. We partner with Stripe to make sure payments end up safely in your bank account.
You can start collecting Recurring Payments in five minutes.
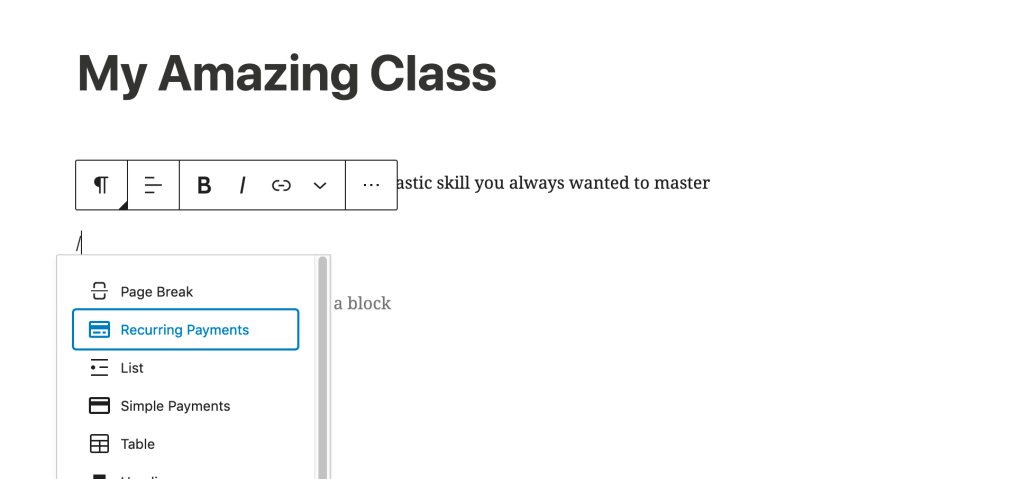
On the “Subscribe” page you created above, search for the “Recurring Payments” block:
After clicking “Connect to Stripe,” you’ll be able to connect your existing Stripe account or create a new one.
Now you can create your first subscription.
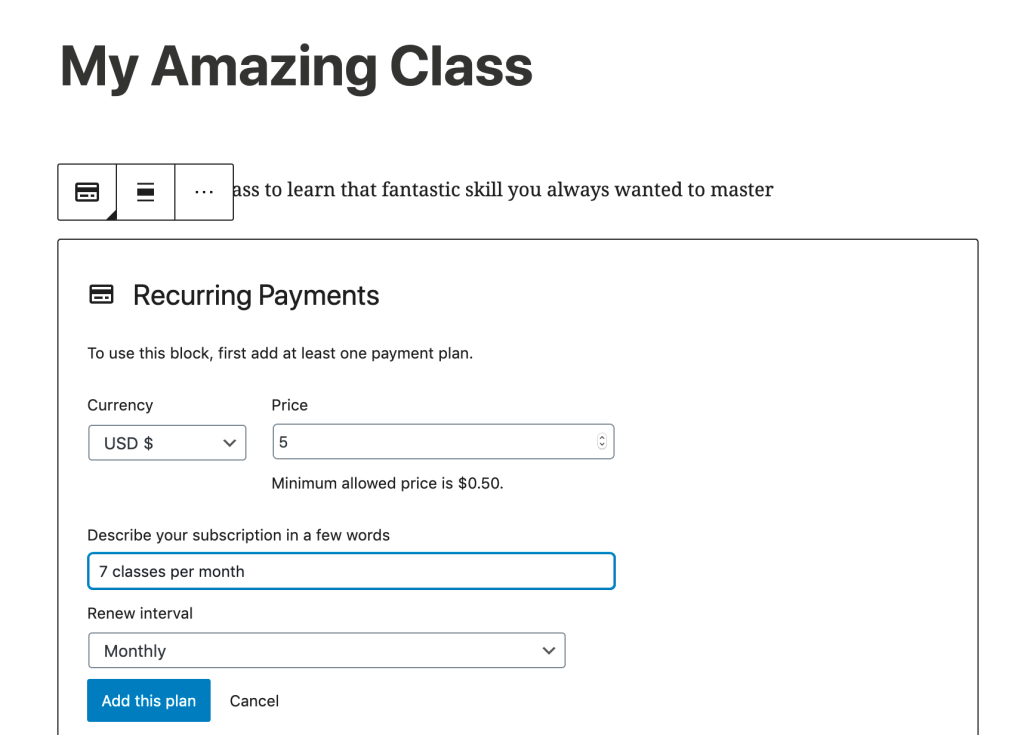
Set the price, frequency (we recommend monthly for start), and the title of your subscription, like Writing Bootcamp, 3 breakout sessions/month or Conversational French for Beginners, 4 classes/month.
That’s it! Your subscription is now created. Once you publish the page and activate your Stripe account, your customers will be able to subscribe to this service.
Subscriptions are dependable: your subscribers will be automatically charged at the beginning of the next renewal period (in a month or a year). You don’t have to remind or nudge them, and they also don’t have to remember to pay you — everything is handled.
For more details, please read this Recurring Payments support article.
Would you rather sell access to your services as a one-time purchase? Check out the Simple Payments feature.
3. Schedule your lessons
Your subscribers can set up a time for their lessons using a service like Calendly, a handy tool that allows them to select a free slot in your schedule. We recently created the Calendly block to bring some of the service’s key features to you. While editing your page, search for the “Calendly” block.

Remember to check if the subscription is active
Before hopping on an online meeting, you need to confirm that the person scheduling a call is indeed a paying subscriber. Check the list of your active Recurring Payments subscribers located in your WordPress.com dashboard under My Sites → Earn → Payments.
4. Select a tool to host your class
Video conferencing tools are very useful for teaching. Apart from seeing the other person, you can share your screen, send files, or even host a session for multiple people, lecture-style.
You can use Google Hangouts, Skype, or Zoom (which is what we use for our meetings here at WordPress.com). Zoom has put together a handy tutorial for teachers.
If you’d like additional setup tips on selecting a theme for your website, adding content and media, and adding students as viewers or contributors, read our support tutorial on building a virtual classroom.
What amazing class are you going to launch?