Keeping your visitors interested is the key to a successful website—and one great way to do that is with email. A smart email outreach plan piques peoples’ interest, keeps them engaged, and brings them back to your website.
To send emails, you need a mailing list, and Mailchimp is the list-building tool of choice for lots of folks. With WordPress.com’s new Mailchimp block, you can add a signup form to any post or page. Give visitors the opportunity to join your list wherever they are on your website.
Using the Mailchimp block
If your website is on WordPress.com or uses Jetpack (version 7.1 or higher), the Mailchimp block is already waiting for you in the block editor. Open a post or page, add a new block, and either search for “Mailchimp” or select it from the list of available blocks.


Once you’ve inserted the block into your content, you can customize the following aspects of your form:
- Placeholder text in the field for email address. Once your visitor starts filling out the form, this placeholder text will disappear.
- Text on the submit button.
- Terms of service disclaimer at the bottom. These terms and conditions are the contract between you and the subscriber.
- Success message text that will appear after visitors submit their email.
- Error message text if there was a problem in submitting the form.
First-time setup
The first time you add a Mailchimp block, you’ll need to to connect your Mailchimp account to your WordPress website and specify the mailing list that your new subscribers will join.
You will need:
- A Mailchimp account. If you don’t have one yet, you can sign up here for free.
- At least one list created on this account. Mailchimp has a good resource on that here.
Once you have a Mailchimp account, open wordpress.com/sharing, choose your site and select “Mailchimp” from the list of connections.
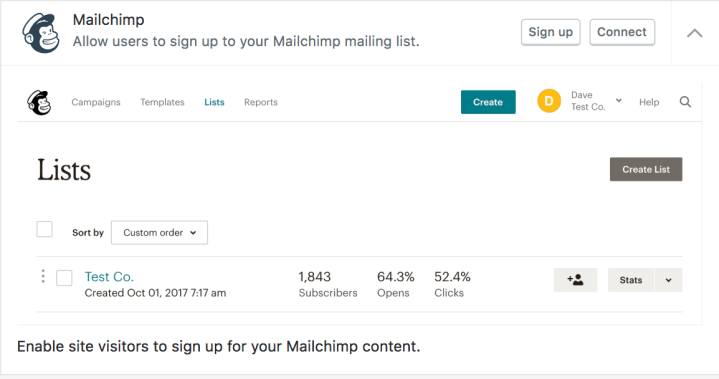
Once you click “Connect,” you will be prompted for the login and password to your Mailchimp account. Once you’re logged in, you will be taken back to WordPress.com:

After connecting your account, remember to select your Mailchimp list. You can read more about setting up your configuration options here.
Grow your audience with email
Email helps you build a relationship with your readers. Not sure what to send? Try:
- Sending updates about new posts or products.
- Sharing other interesting articles from around the web.
- Writing more personal updates.
- Expanding on your blog posts.
- Offering discounts or early access to premium content.
Forging an email relationship can turn a one-time visitor into a loyal follower or customer. And the people who trust you with their email addresses are often your biggest fans, so it makes sense to give them some extra goodies.
Build better landing pages
Email signups are also perfect for landing pages or “Coming Soon” splash pages. A landing page is a simple one-page website that serves only one purpose: to collect email addresses. Usually, it’s a placeholder for a fuller site to come, or a new product or service that will launch in the future. With a Mailchimp block, you can collect emails right on your landing page:

Collect the email addresses of interested visitors while you build your product or a larger site behind the scenes. Once your creation is ready to be unveiled, you can email your list to let them know.
You can use lots of different features to build and engage your audience — social sharing, blog comments, the WordPress.com Reader — and now you’ve got one more tool at your disposal!